前言
在 GitHub 上浏览许多大仓库时,常常能见到在 commit 信息旁边有一个绿色的标识,里面写着 Verified。这种一看就令人安心的标志,自己也想搞一个()上网查了查资料,发现只要对提交到 GitHub 的 commit 使用 GPG 进行签名即可,步骤也不麻烦,遂进行一个记录。
什么是 GPG
摘自 GPG 官网
GnuPG is a complete and free implementation of the OpenPGP standard as defined by RFC4880 (also known as PGP). GnuPG allows you to encrypt and sign your data and communications; it features a versatile key management system, along with access modules for all kinds of public key directories. GnuPG, also known as GPG, is a command line tool with features for easy integration with other applications. A wealth of frontend applications and libraries are available. GnuPG also provides support for S/MIME and Secure Shell (ssh).
简单来说,GPG (GNU Privacy Guard) 是由 GNU 组织提供的一款加密工具,并且是目前世界上最好用的加密工具之一。GPG 的用途十分广泛,而我们今天只是用它进行 git commit 的签名认证。
生成 GPG Key
Windows 下安装 Git Bash 已经自带了 GPG 工具,可以使用 gpg --version 验证:
> gpg --version

gpg (GnuPG) 2.2.29-unknown
libgcrypt 1.9.3-unknown
Copyright (C) 2021 Free Software Foundation, Inc.
License GNU GPL-3.0-or-later <https://gnu.org/licenses/gpl.html>
This is free software: you are free to change and redistribute it.
There is NO WARRANTY, to the extent permitted by law.

Home: /c/Users/b1acksoil/.gnupg
Supported algorithms:
Pubkey: RSA, ELG, DSA, ECDH, ECDSA, EDDSA
Cipher: IDEA, 3DES, CAST5, BLOWFISH, AES, AES192, AES256, TWOFISH,
        CAMELLIA128, CAMELLIA192, CAMELLIA256
Hash: SHA1, RIPEMD160, SHA256, SHA384, SHA512, SHA224
Compression: Uncompressed, ZIP, ZLIB, BZIP2
接着我们生成一个新的 GPG key:
> gpg --full-generate-key提示输入算法类型,密钥长度,选择默认即可。然后输入自己的邮箱、名称和密钥备注,最后会弹出一个窗口让你设置密码。
生成好密钥后会将密钥的 ID 输出在屏幕上,忘记了也没关系,可以使用 gpg --list-keys 查看。
> gpg --list-keys

gpg: checking the trustdb
gpg: marginals needed: 3  completes needed: 1  trust model: pgp
gpg: depth: 0  valid:   1  signed:   0  trust: 0-, 0q, 0n, 0m, 0f, 1u
/c/Users/b1acksoil/.gnupg/pubring.kbx
-------------------------------------
pub   rsa3072 2022-10-01 [SC]
      114514191981011451419198101145141919810
uid           [ultimate] b1acksoil (for git commit) <dev@sorabs.cc>
sub   rsa3072 2022-10-01 [E]
pub 一栏,在密钥算法和日期下面,就是我们的密钥 ID。
使用 GPG 对 git commit 签名
在对 git commit 进行签名之前,我们需要配置一下 git,让它知道我们使用了这个新创建的 GPG 密钥签名 commit:
$ git config --global user.signingkey 你的密钥ID为了试试签名的效果,我们随便创建一个测试用的 git 仓库,并进行一次提交:
$ mkdir testgpg
$ cd testgpg
$ touch abc.txt
$ git add .
$ git commit -S -m "test gpg key"
这里提交时的 -S 选项,表示我们使用 GPG 签名这次提交。
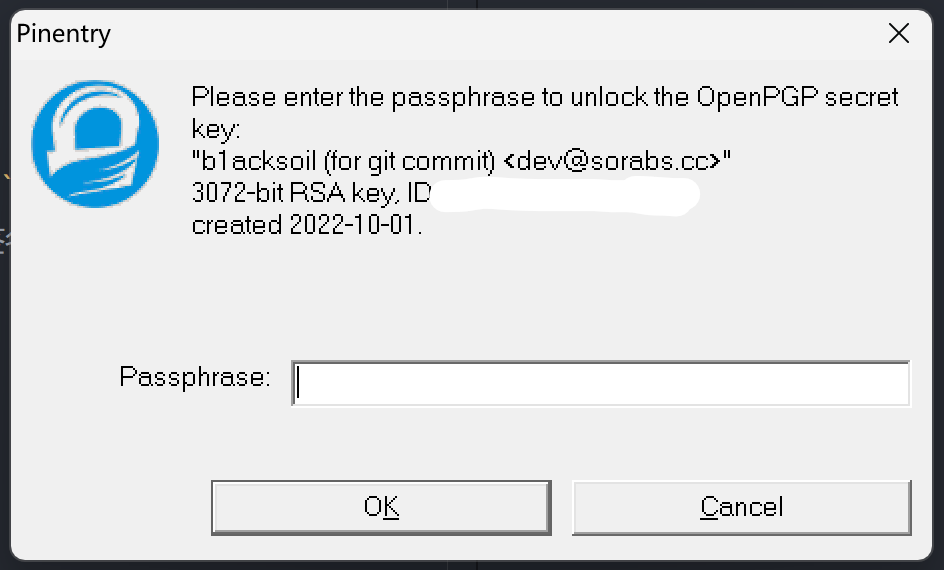
不同于以往直接提交成功,git 弹出一个窗口要求你输入密码,也就是我们设置的密钥密码。正确输入后便会完成提交,也就完成了我们第一次由 GPG 验证过的 commit。

不想每次都输入 -S 选项?
可以配置 git config --global commit.gpgsign true,这样每一次提交都会自动签名。
将密钥导入 GitHub
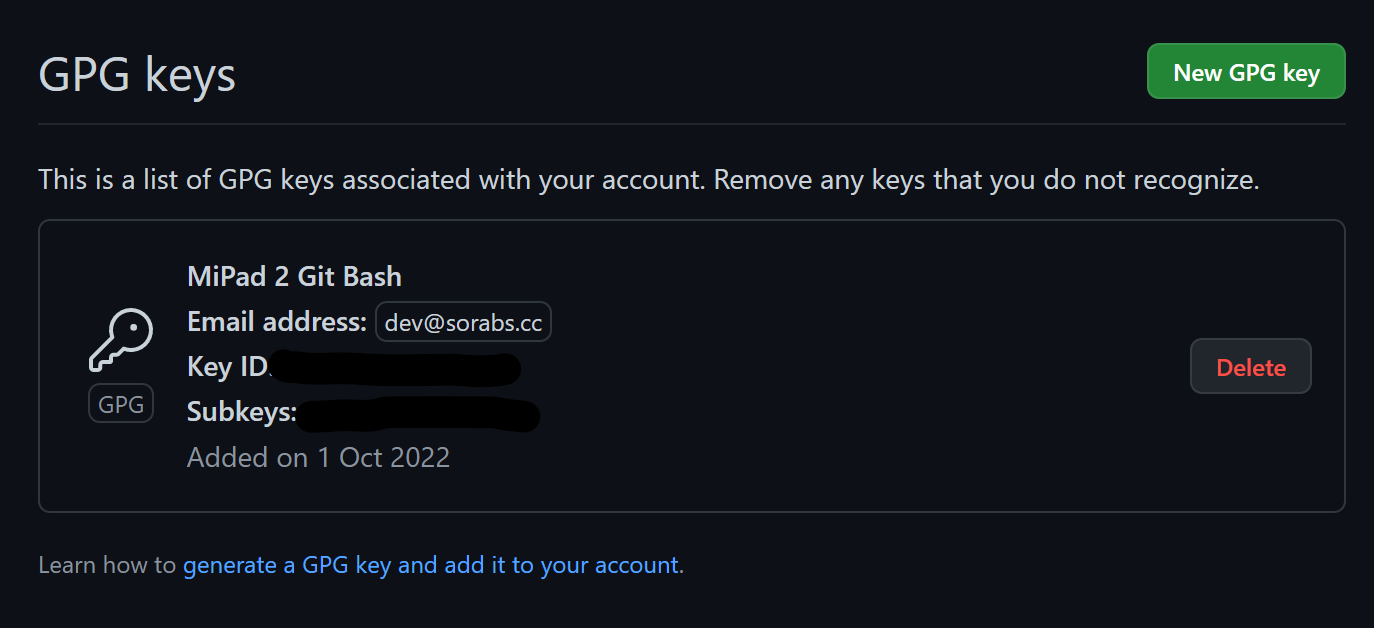
本地签名好了,我们需要在 GitHub 里添加我们的密钥,否则即使签名了 GitHub 不认,也就没有小绿标了。
首先查看我们的 GPG 公钥:
> gpg --armor --export 你的密钥ID

-----BEGIN PGP PUBLIC KEY BLOCK-----

(你的公钥)

-----END PGP PUBLIC KEY BLOCK-----
登录 GitHub,点击头像 - Settings,然后打开 SSH and GPG keys 选项卡。

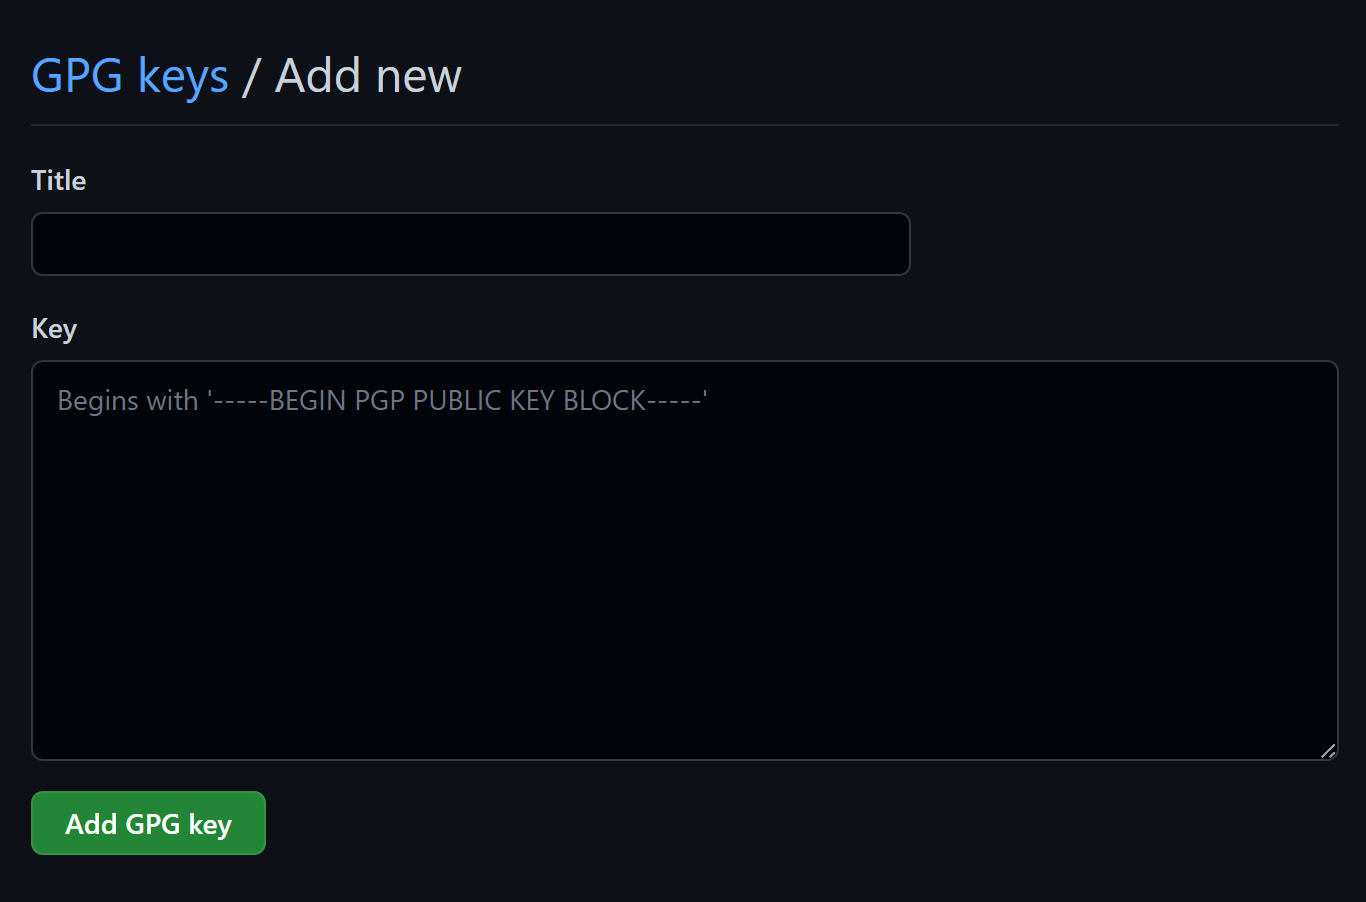
点击 New GPG key,输入想要的名称,然后把上面获取的公钥完整地(包括 -----BEGIN PGP PUBLIC KEY BLOCK----- 和 -----END PGP PUBLIC KEY BLOCK-----)复制到下面的文本框内,然后点击 Add GPG key 按钮完成。

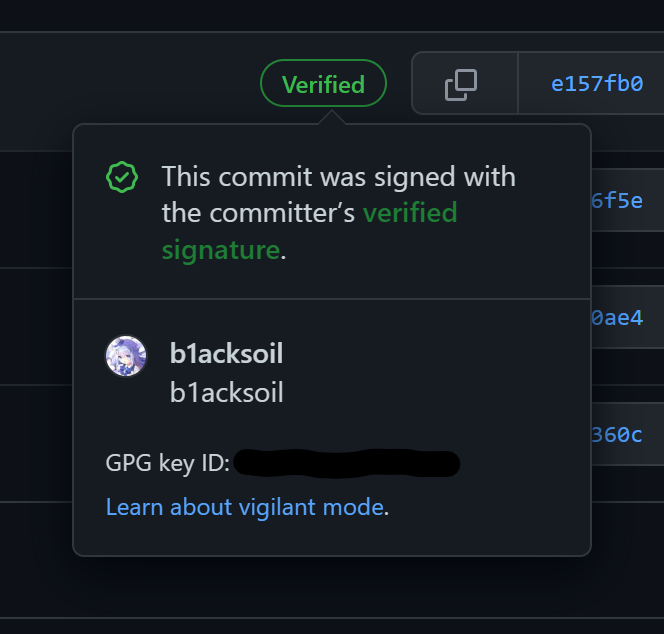
这时我们就成功地让 GitHub “认识” 了我们的密钥了。本地执行一个提交并 push 到 GitHub 上,你会看到提交信息旁边有一个闪亮的 Verified 标识。

附加:信任 GitHub 的 GPG 公钥
虽然我们本地的 commit 已经是签名过的了,但不在本地的,例如直接在 GitHub 网页端执行的提交,则是由 GitHub 代为签名,这导致我们无法验证这些签名的真实性。
信任 GitHub 的公钥即可解决这个问题:
$ curl https://github.com/web-flow.gpg | gpg --import回车执行,提示:
gpg: key 4AEE18F83AFDEB23: public key "GitHub (web-flow commit signing) <noreply@github.com>" imported这里的 4AEE18F83AFDEB23 (可能有变化,以实际情况为准)就是 GitHub 的公钥 ID。接下来使用自己的密钥为其签名:
$ gpg --sign-key 4AEE18F83AFDEB23

pub  rsa2048/4AEE18F83AFDEB23
     created: 2017-08-16  expires: never       usage: SC
     trust: unknown       validity: full
[  full  ] (1). GitHub (web-flow commit signing) <noreply@github.com>


pub  rsa2048/4AEE18F83AFDEB23
     created: 2017-08-16  expires: never       usage: SC
     trust: unknown       validity: full
 Primary key fingerprint: 5DE3 E050 9C47 EA3C F04A  42D3 4AEE 18F8 3AFD EB23

     GitHub (web-flow commit signing) <noreply@github.com>

Are you sure that you want to sign this key with your
key?

Really sign? (y/N) y
输入 y 并回车确认,我们便可以看到所有的签名都得到了验证。